Azure Automated Machine Learning Lab

We're going to take a look at Azure automated machine learning using Studio and do the following.
- We'll set up a dataset to use.
- We'll build a model.
- We'll train a regression model.
- We'll take a look at the results.
- We'll deploy the container to an Azure container instance
- We can make predictions.
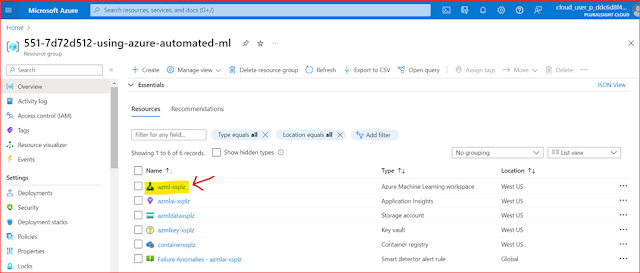
Let's hop over to the Azure portal, I already have a setup of Azure machine learning workspace to train the machine learning models and Compute Clusters. So the first thing here is the machine learning workspace. And I just created this by clicking on Create up here and creating the machine learning workspace. Which will also create all of the required resources, such as the application insights, key vault, and storage account.
Let's click on the workspace now. And you'll see a button here to launch the Azure Machine Learning Studio. This is where you'll access all of the machine-learning features of the workspace. So let's click it now and get started. Once it launches, you'll see lots

We're just going to focus on automated machine learning. Let's head over to the Automated Machine Learning tab, about the only thing we can do right now is to create a new automated machine learning run.

So let's do a regression model to predict bike rentals using a dataset from Microsoft. Let's Configure Run.
- I'm going to give this experiment a name.
- Our next option is to select the type of model and we'll want to select Regression here.
- Click on Create Dataset here and choose From Web Files.
- I'll input the URL to the dataset in the Web URL box.
- Give it a name, and hit Next.
- It will detect our file format encoding and such.
- Let it load
- We can view the data.
- validate our dataset and you can see here we've got things
- Now that we have an idea of what the data looks like,
- Let's click Next to the schema, In here we can remove columns and select their type if we need to


- Feature engineering: If we wanted to add a new column, that's the process of creating new features from raw data to increase the predictive power of the algorithm.
- Feature selection: where we remove unnecessary features when training the model. This can help with accuracy and making better predictions.


It's all done running now. So let's take a look at the results. The first thing here is to take a look over here under Model Summary.


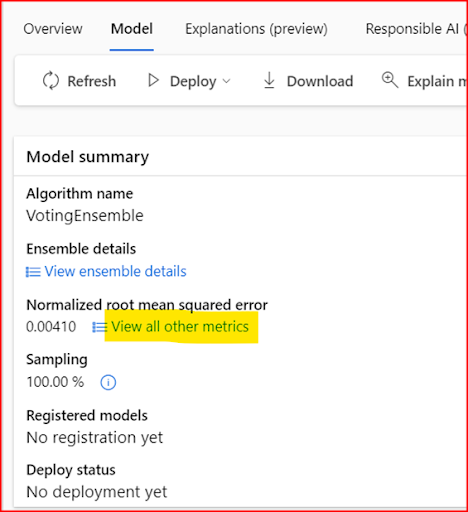

To evaluate a model's performance, let's look at 2 metrics in here.
- The first one is the R squared score: This is a metric that ranges from 0 to 1 and the higher it is, the better your model is performing and predicting.
- The second one is the root mean squared error: This is the measure of errors. So the larger the number is the larger the errors and the worse the model performs.
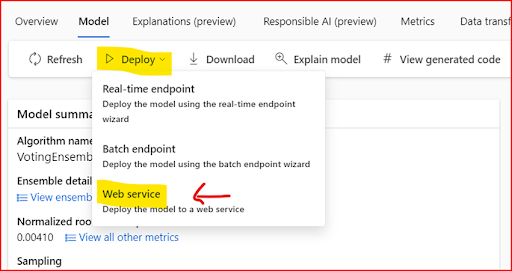
Now that we have our model, we can deploy it to an Azure container instance and then feed it values and it'll start making rental predictions for us.
- Let's head over to the Models tab, select the VotingEnsemble algorithm, and right up here, there's a Deploy button.
- Change the Compute Type to Azure Container Instance, and then under Advanced, set the CPU Reserve Capacity to 1 and the Memory Capacity to 1.
- Let's click Deploy, and just like that, it's going to deploy our model to an Azure container instance.
- And when it gets done creating, we'll give it a spin and make sure it works. This process usually takes about 10 to 15 minutes.
- Now it's finished deploying.
- You can find it under the Endpoints blade and let's head to the Test tab
- You can see here that we can enter data to test the real-time endpoint and our model.
- To see how close our model is to the real number, we are with the first row of data entered in.
- Let's press Test here and see how close our model is to the real value.


No comments:
Post a Comment